Removing the Woodchip and Anaglypta Wallpapers
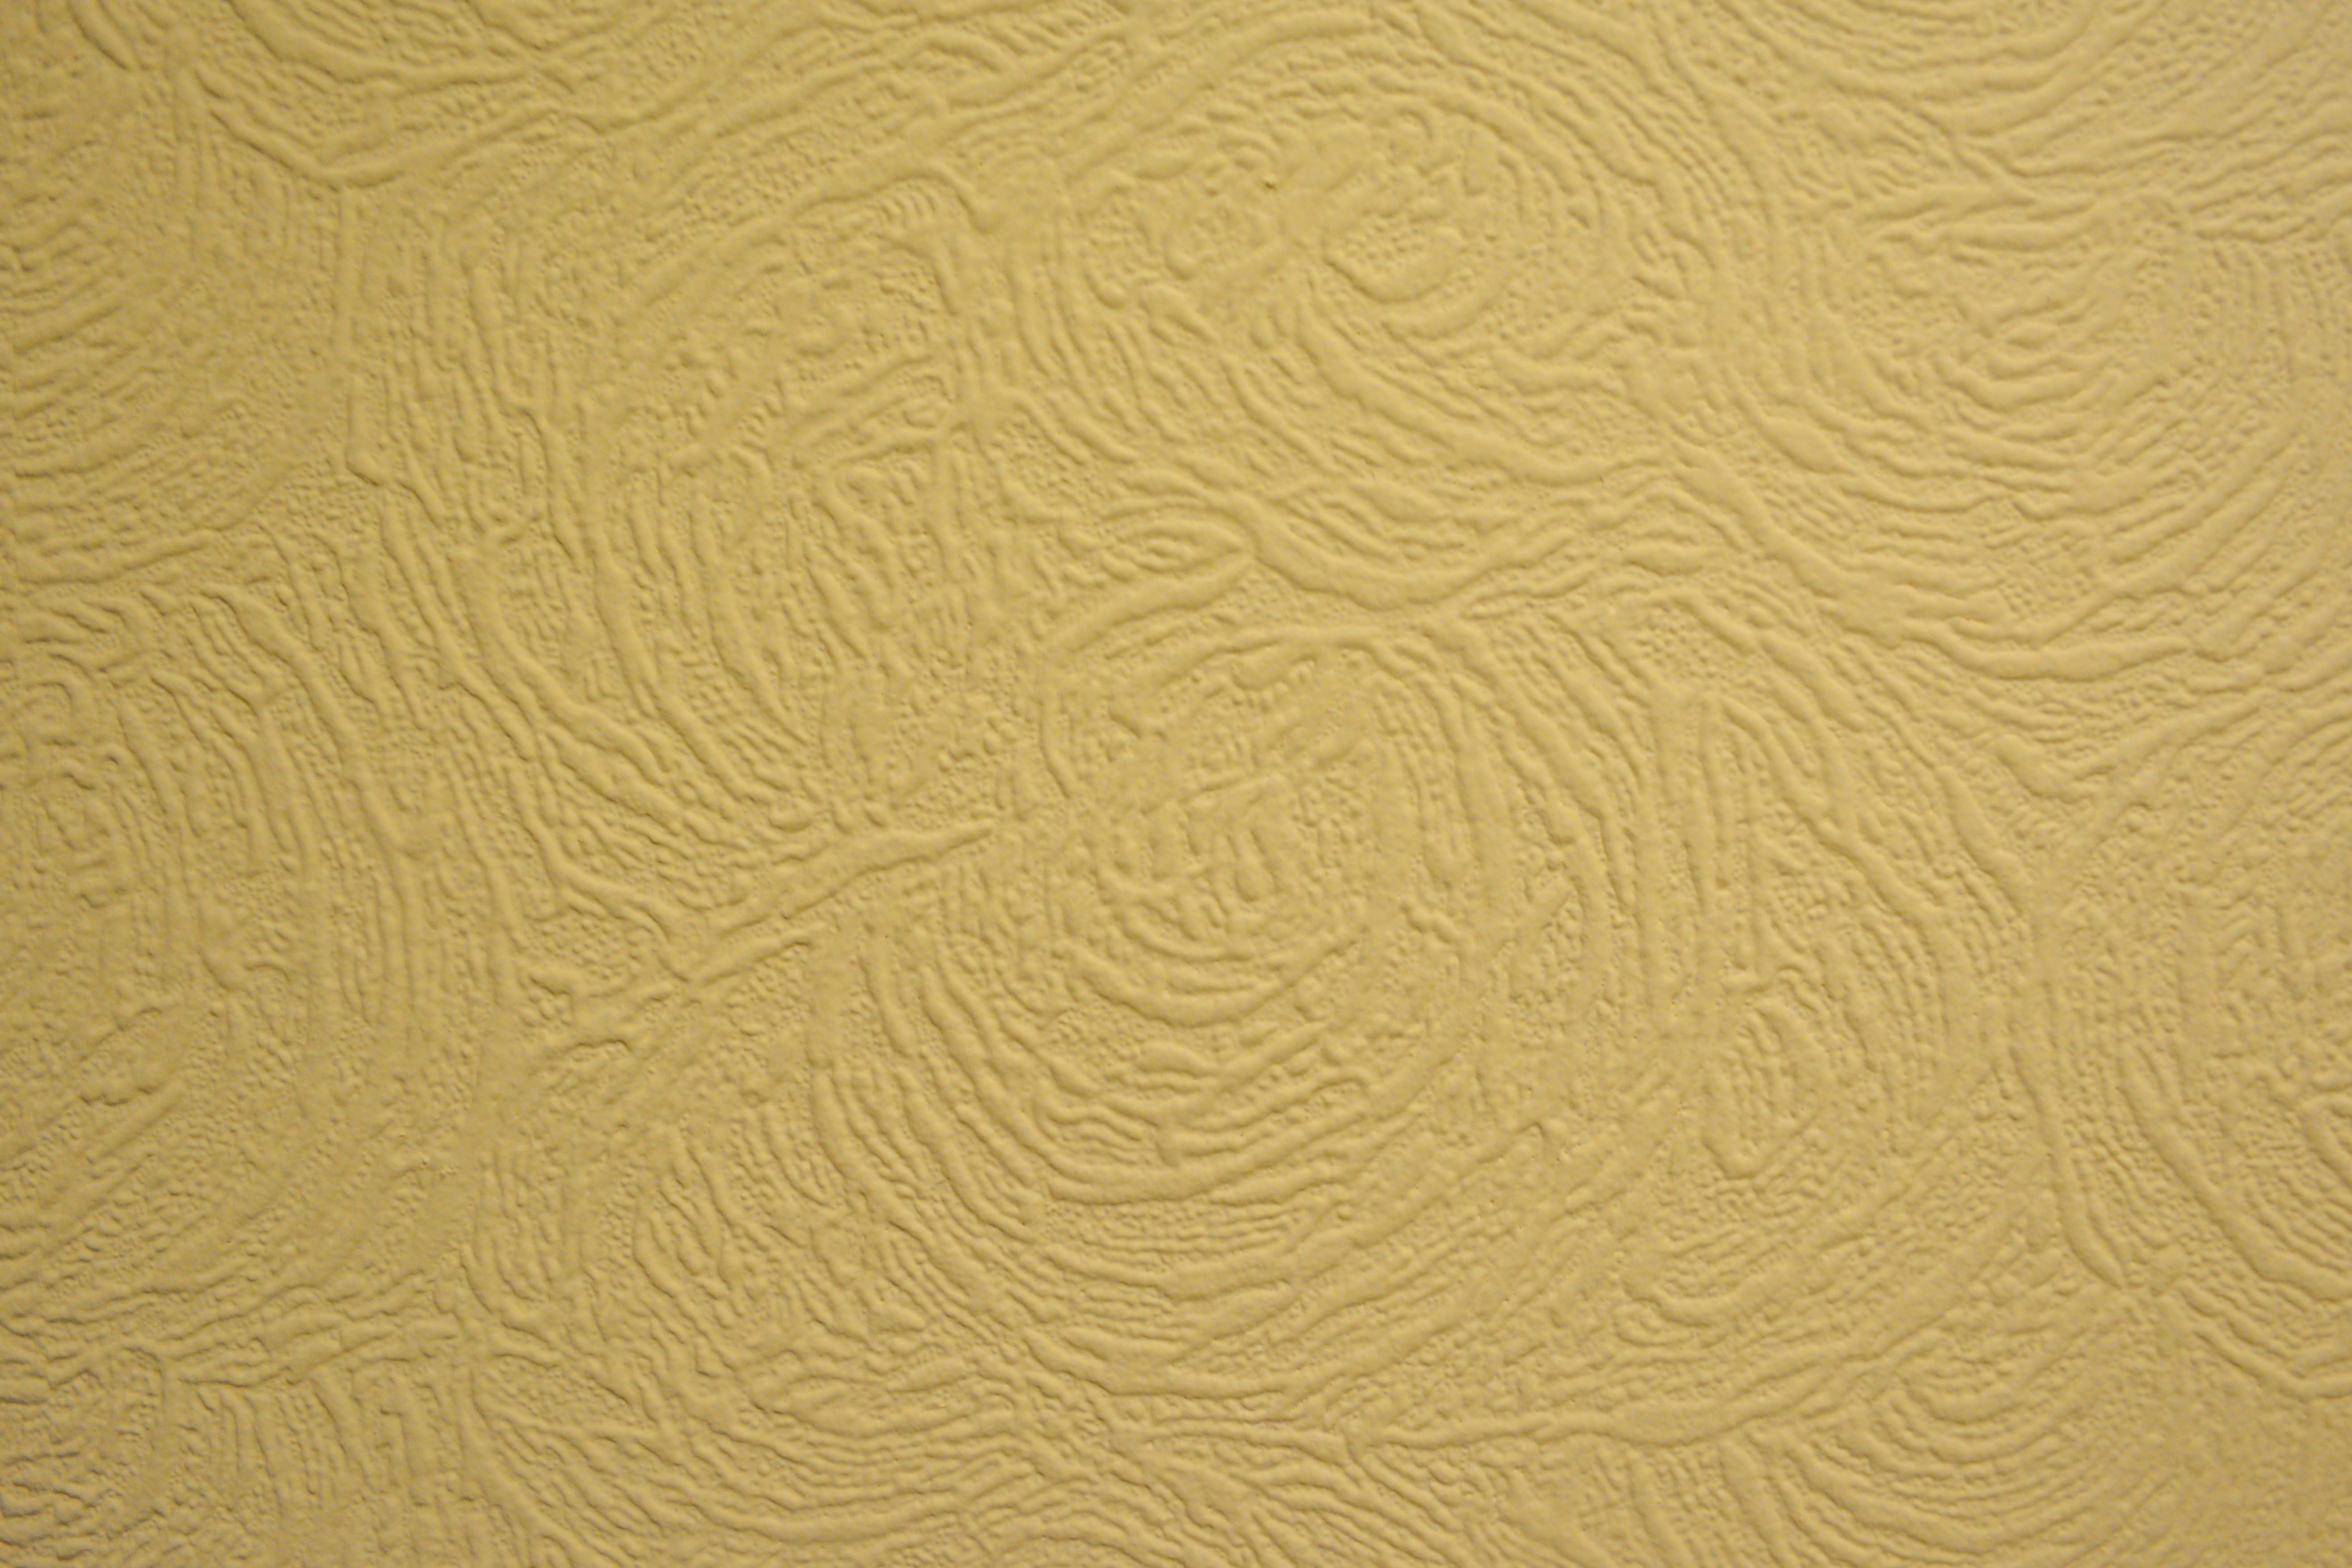
Woodchip wallpaper is plain disgusting, and I am currently waging a one-woman war to get it off our walls! The anaglypta wallpaper is not far behind – its swirly patterns taunting me as I walk past. They’re all throughout the living room, up the stairs, and in the front bedroom, where it eventually gives way to some equally horrible striped and peach-coloured stuff. So I’ve been teaching myself the best way to remove all this wallpaper, by scouring the advice pages and forums on the internet (my usual method of teaching myself anything house-related!).
At first, I tried using a scraper and pulling it off dry. But that was highly unsuccessful, ending up with tiny little flakes of spiky wallpaper everywhere! Next, I soaked a sponge in water and dabbed this on the walls in an attempt to soften it. Whilst I found that the water worked really well, the method of application was messy and very tedious. I considered getting a steamer, but I know myself well – I am clumsy at times and highly likely to burn myself. I already have a string of minor injuries from the initial renovation attempts – bruised elbows and arms, cut fingers, and even a knock on the head from a stubborn piece of wood that wouldn’t part from the wall!
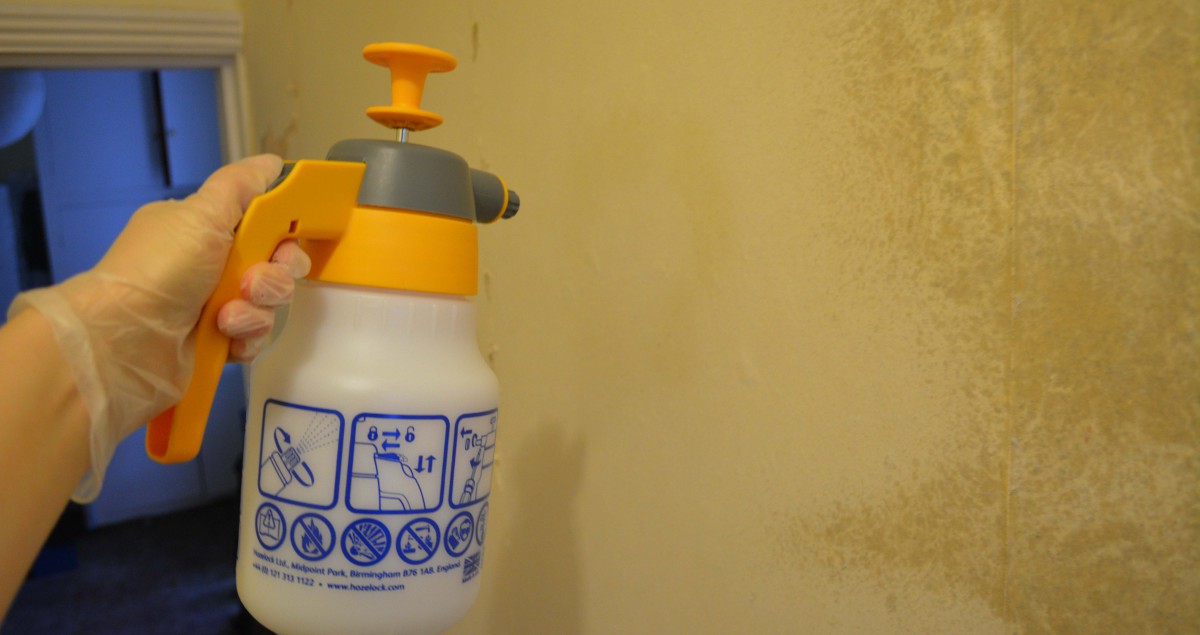
So, I wanted to experiment with other methods of applying water, and this is where the gardener in me saved the day! I had often used my little plastic sprayer bottle to spray water on my pineapple plant (a story for another time, but I grow my own pineapples). Luckily I had lost it, so got to go out and buy an even better one 😉 And in B&Q I found the daddy of all plant sprayers – the Hozelock Trigger Sprayer, 1.25L.
Once home, I filled my new sprayer with warm water and added a bit of eco fabric conditioner – many online say that fabric conditioner will help to soften the wallpaper and paste. I can’t conclusively prove that this does work, but I liked the lavender smell, so I certainly didn’t mind! I also bought a wallpaper perforator from Amazon (Silverline 245130 Wallpaper Perforator 150 x 480 mm), and set about making a whole series of tiny holes in the paper. You only need to press gently with the perforator, otherwise you could damage the plaster beneath, but it definitely enables the water to get through to the backing paper on the wall (especially when the wallpaper has a plastic-type coating). I moved the perforator back and forth over each section of paper, and found that the series of tiny holes did really help the moisture to get under.

Next the fun bit: I sprayed the wallpaper lightly all over, covering any power sockets with thick layers of tissue beforehand, and likewise, protecting the floorboards beneath. The particular sprayer I chose has a pump and a lock, meaning I could pressurise it and spray the whole wall without holding down on the trigger – easy! I repeated this 2 more times at half hour intervals (any longer and it begins to dry) – which I found was the optimal amount of water need to completely soak the wallpaper. Next, I used the scraper (Stanley Heavy Duty Long Handle Scraper 0 28 004) to get underneath both wallpaper and liner. The scraper was both strong and a good size, with the medium-size handle offering good control and the narrow blade coping better on our uneven walls compares with a similar product we bought with a wider blade and longer handle. I found that it scraped away the soggy layers incredibly easily, and trying to keep it in long strips as I did so, made it less messy. The method also meant minimal damage to the plaster beneath, even in areas where the old lime plaster had completely blown off the wall and had a hole in it (a thankfully rare occurrence – the walls turned out to be in fairly good condition).
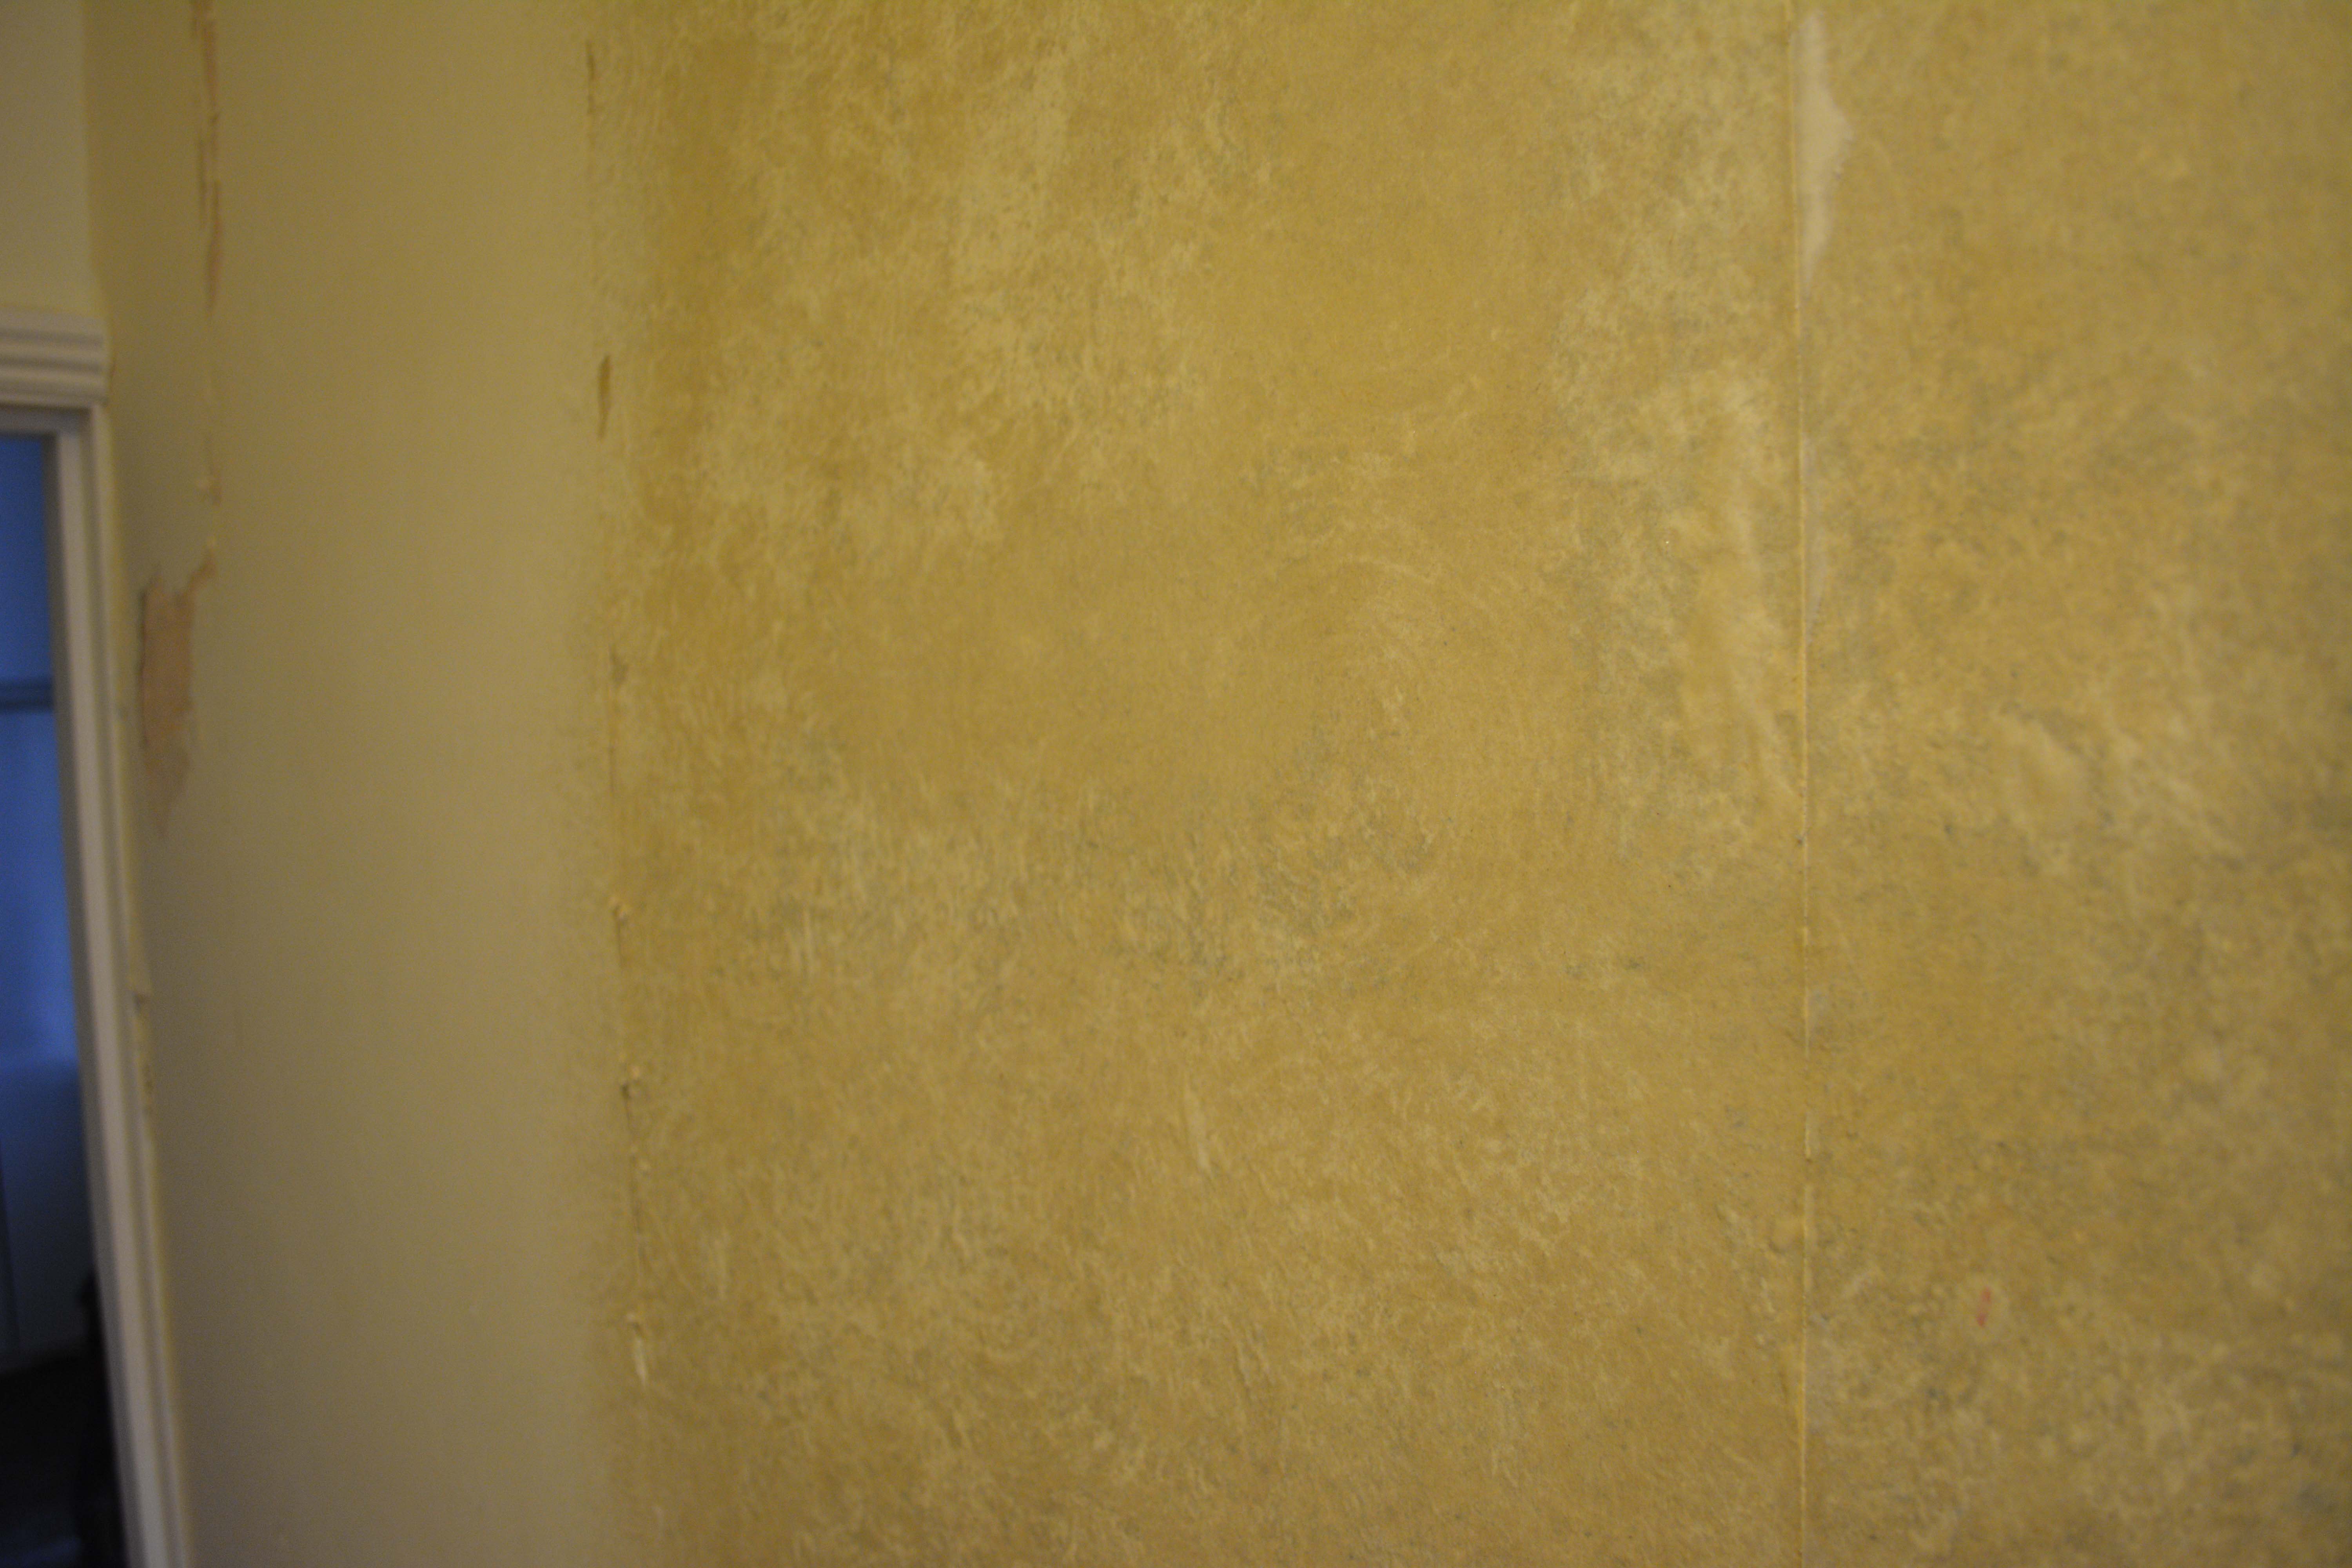
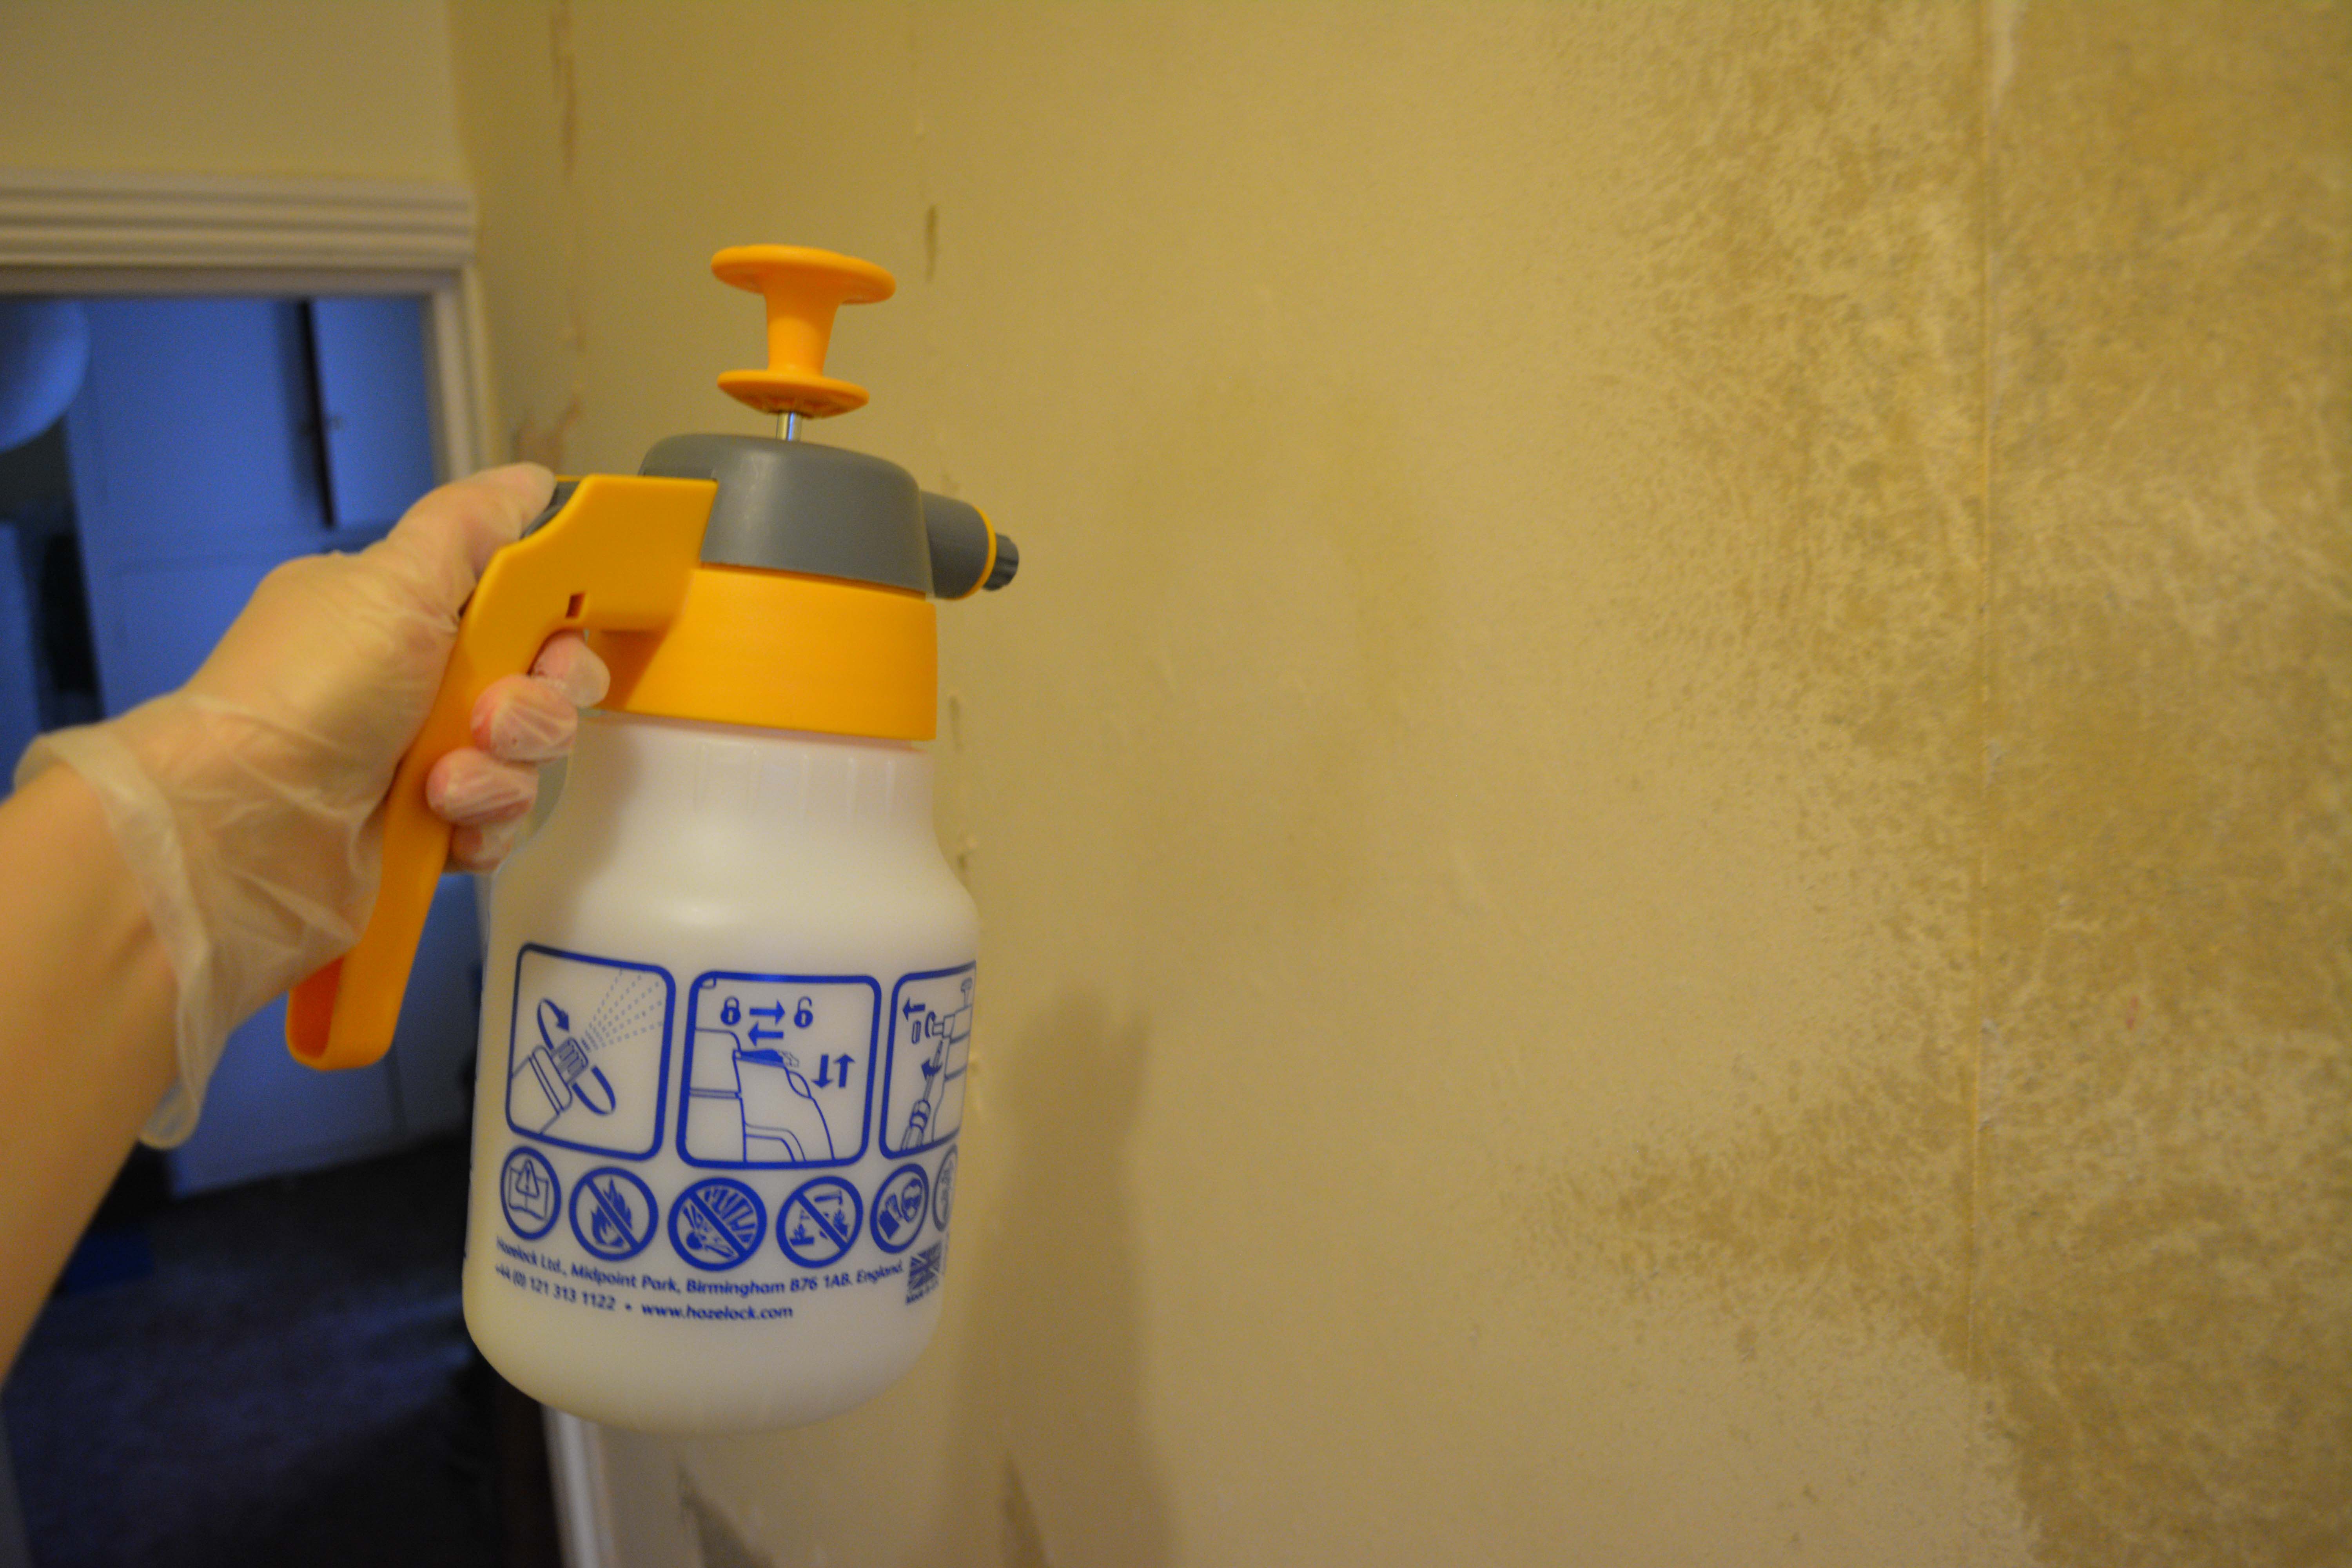 Spraying the walls with water & fabric conditioner mix
 Wet backing paper ready to scrape off
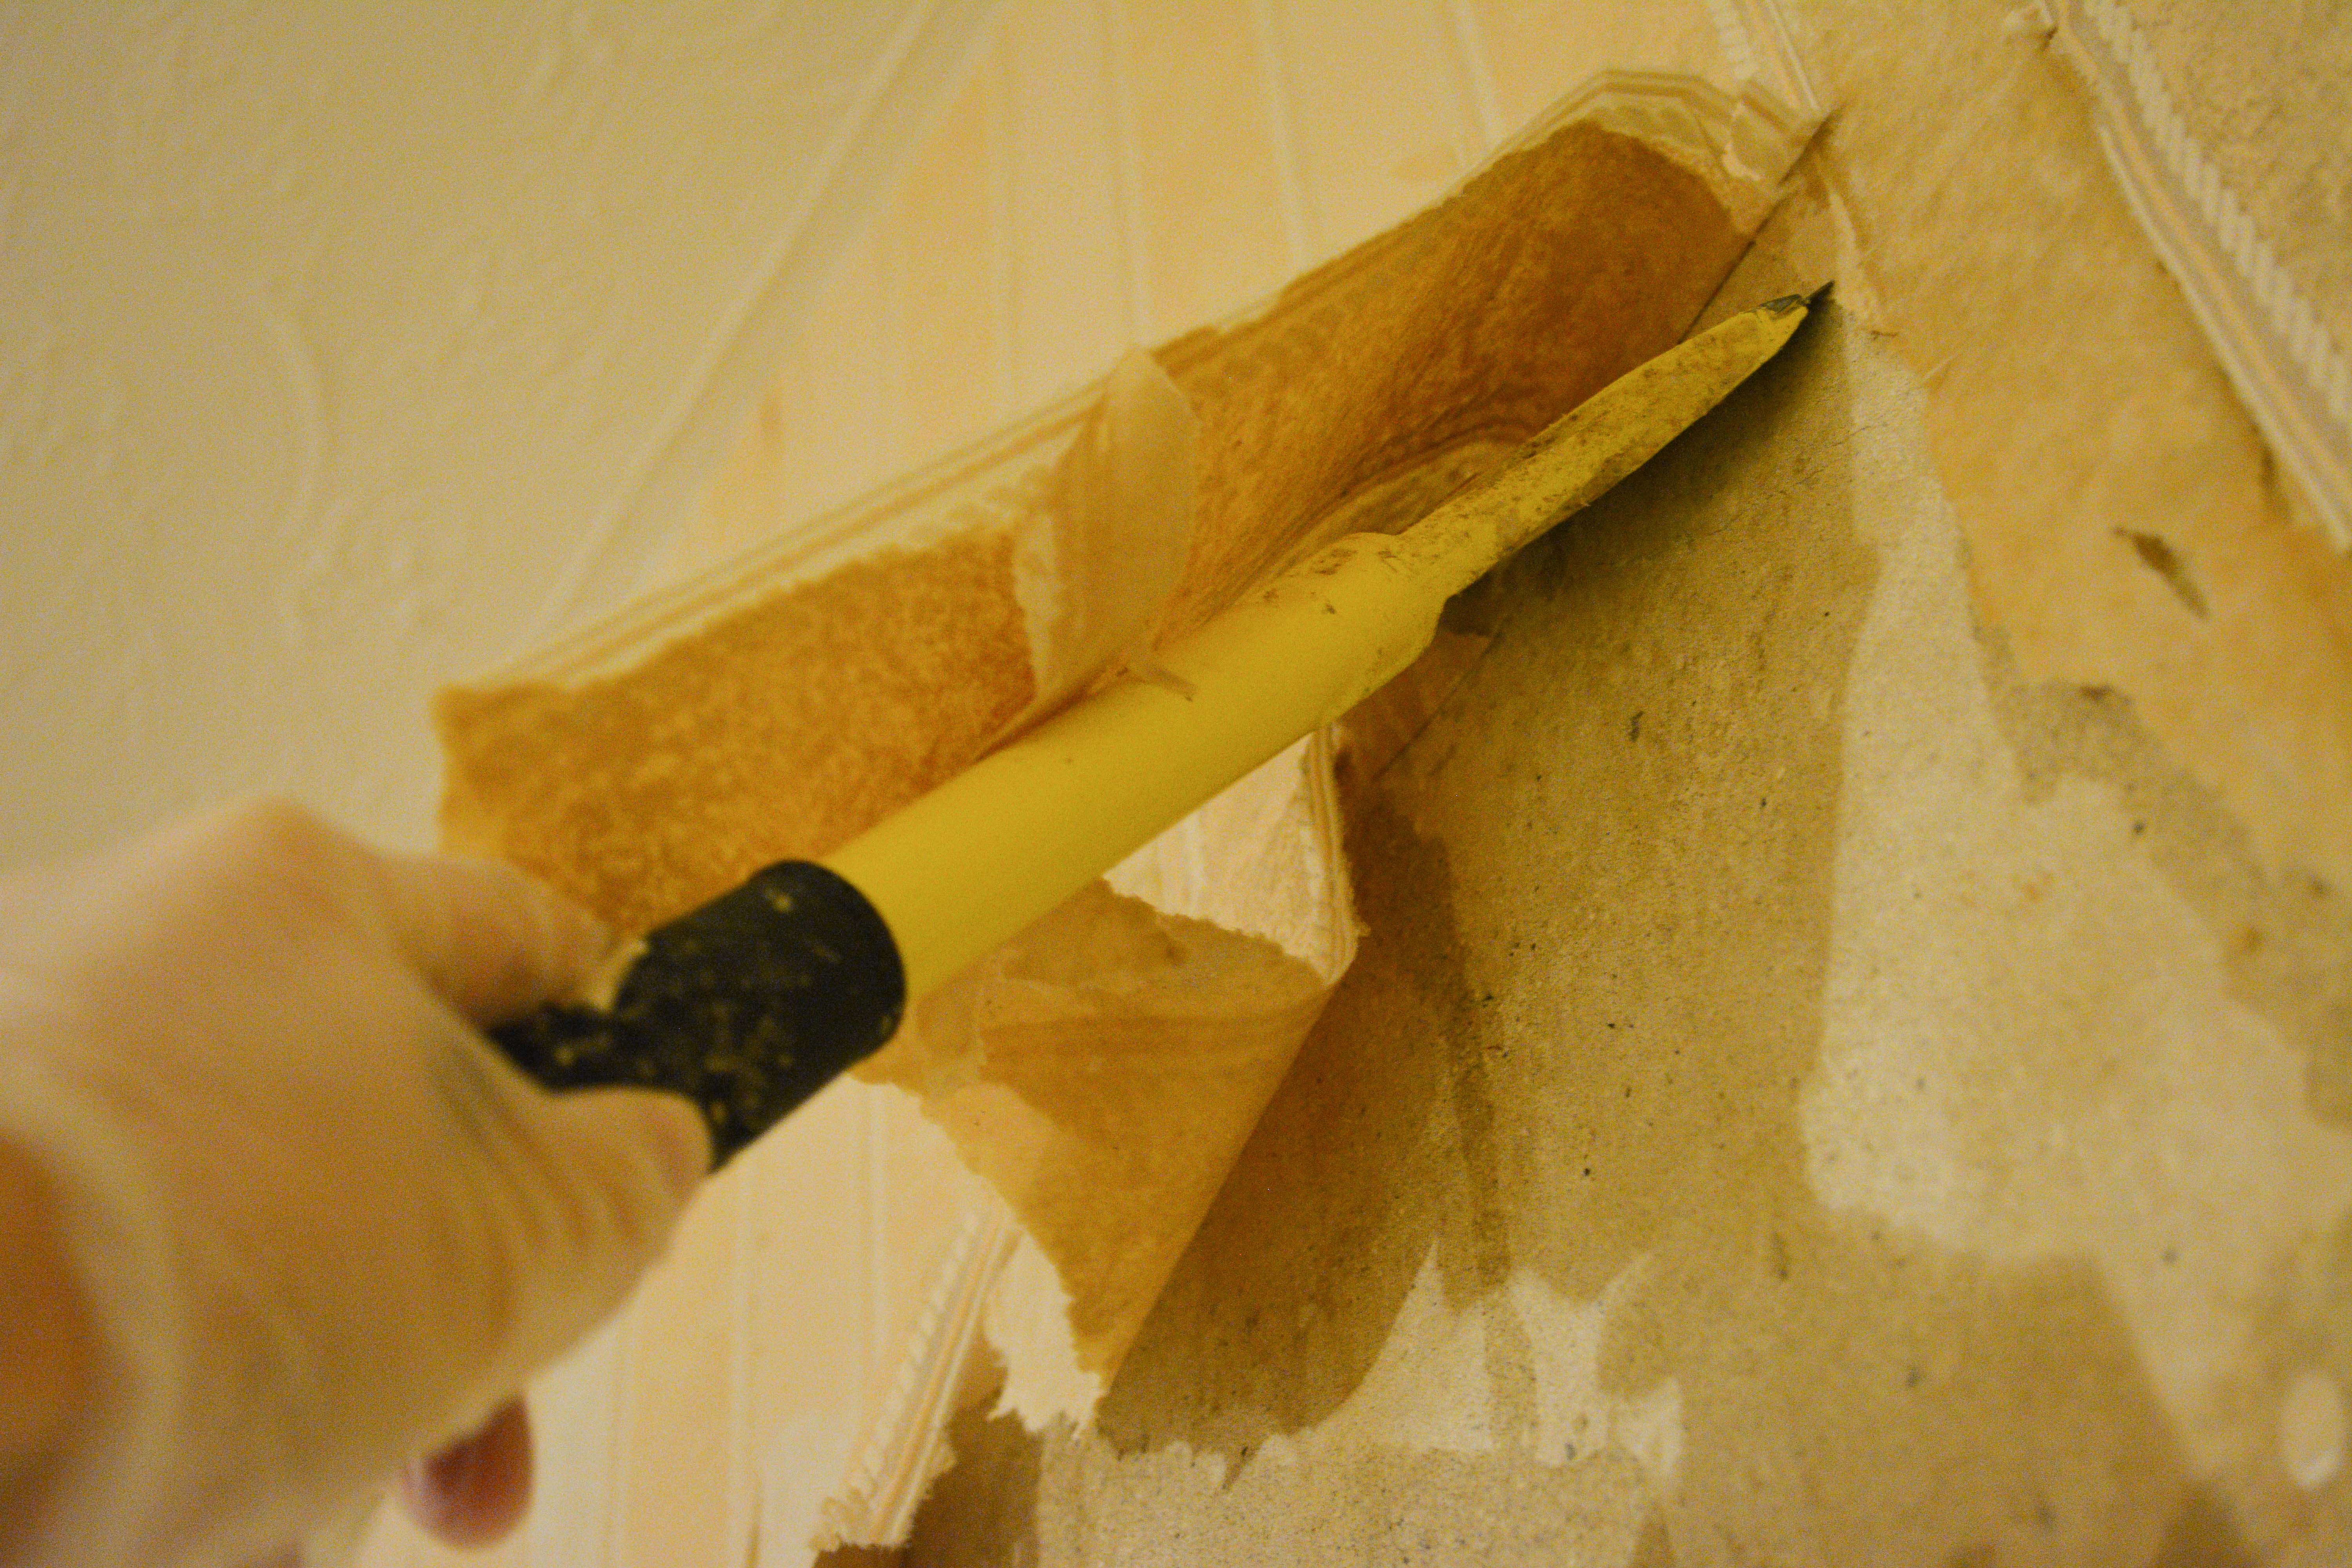 Scraping off striped wallpaper with Stanley scraper
 Scraped wall, with lime plaster beneath. This will need washing to remove traces of wallpaper paste
So all in all, I’m very happy with my method of wallpaper removal and will be using it across the house. It’s going to take some time though!